|
| One of the very first curb bits I made, early 2018. One square is 1 cm. |

What you need:
- metal wire or jewellery spikes (not too thin or thick, 0.4 mm or slightly thicker is okay)
- round jewellery pliers (thin nose)
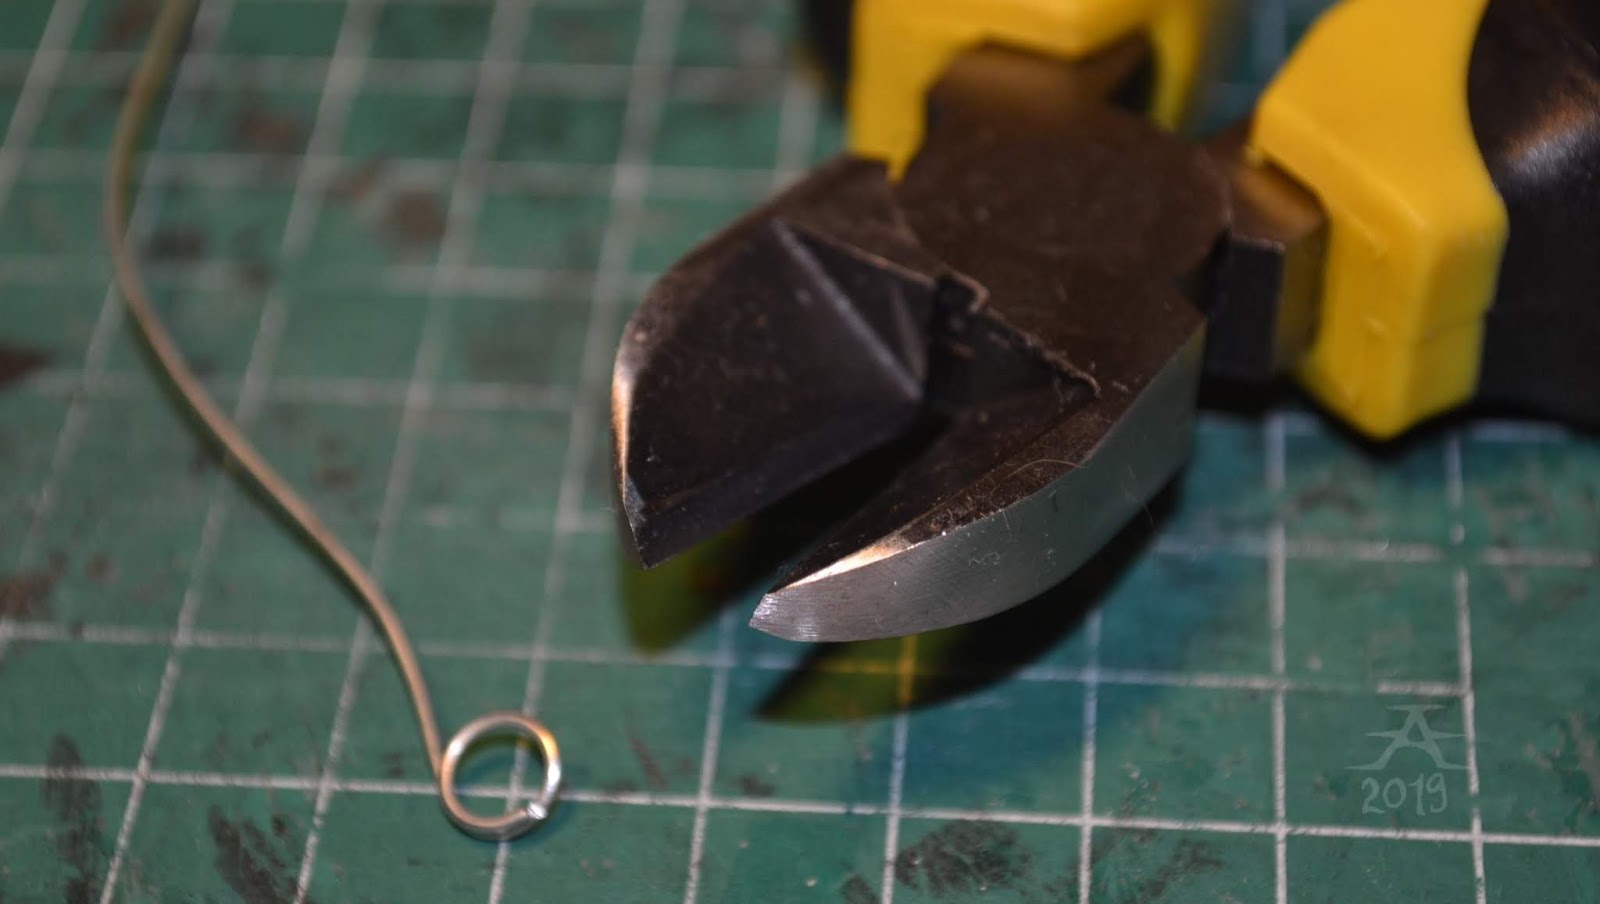
- jewellery side cutters
 |
| This photo is perfect, I don't need to take it million times... Except that in this you see too much stuff (like the large pliers and thick wire). Those three wires (silver, gold and red) are meant for tying flowers but work well for model horse metalware too, even for bits. |
The actual tutorial:
Take some jewellery spikes (I have no idea what these are called in English, but you get the picture!), at least two. More is needed if you want to test the techniques before trying to make the actual-to-be-used bits.
 |
| If you want, you can bend the loop a bit backwards, so the seam side gets flat and more same-way with the rest of the wire. It's not necessary, but useful. |
Take round jewellery pliers and hold from close to the spike's loop, the loop seam facing out of you. Bend the excess wire (rest of the wire) outwards from you.

Bend it further, so much that you get another loop. This will be the link you attach the mouthpiece to. (Here comes a notice: to make the bits symmetric to each other, I have a rule of thumb that I first bend "on the loop" and the second piece "under the loop". This way they mirror each other. I'm perfectionistic enough to do it this way. The piece seen here is made "under the loop" way and so is a shank that gets placed to the right side.)

Here's what it looks like when the loop is done:
 |
| Inside. |
 |
| Outside. |
To make the lower shank's rein loop, put the bit to the pliers this way. Make sure the mouthpiece loop is facing at your direction.
 |
| Notice how the mouthpiece loop is facing down/at you, to the lower jaw of the pliers. |
Bend the excess wire outwards from you. This is how you mark the place to bend from.

Put that corner to the pliers' nose tip. Bend outwards from you again, so you end up with a loop. Make sure the loop goes to the opposite direction as the mouthpiece loop!

 |
| Rein end loop (lower shank's loop) ready for cut. |
Done! Here's the bit right after bending and before final trimming. The mouthpiece comes later, and is made similarly as shown here.


--------------------------
Extra info:
- How to make a snaffle bit (to go with this for dressage). Also shows how to make a "mouthpiece" too.
WIRE OR SPIKES?
You can replace the jewellery spikes with only metal wire too, the technique is similar. Choose a wire that looks in scale with the horse, and is strong and steady enough for use (even with a bit rough hands), but not too thick for okay shaping. (Too thick wire can harm your jewellery pliers. The only bits I do from the thick wire are the average round snaffles.) I prefer the jewellery spikes over only wire because my wire is, while being okay in thickness, a bit too soft for rougher use. I use it for extra parts like mouthpieces and other parts that I can attach separately.
When bending a curb bit entirely from wire, I start with the first loop, that is where the cheekpiece attaches to. Just a small loop that I can bend a bit backwards to make the seam side match with the resto f the wire (now it should resemble the letter P, the seam being at the P's "backside"). After that, just do the steps seen in the tutorial. And make sure the seam is siding with the mouthpiece loop.
SYMMETRY
I mentioned the symmetry I try to follow with these. When I do the bit "on the loop" way, it's a left side shank, and when I do "under the loop", it's going to be a right side shank. Doing this correctly and with good results takes some thinking (and probably few fails), but that isn't bad at all. What else miniature hobby is about, if not stretching our brain? (I used the super long shanks to demonstrate things because they have something to hold from without hiding everything with my fingertips.)
 |
| This is what I want them to look like. Symmetric. |
 |
| Right shank on, left down. |
 |
| See the difference in how the mouthpiece loops are made? |
 |
| Right bit in the left, left in the right... Visualized in digital program to make it clear and simple. (On the right is a left shank with a mouthpiece placed rightly) |
I finally documented the way how I check the symmetry and that the shanks match each other in length and which degree the parts are bent in. I place them to the cutting mat and try to match certain parts to the white lines, and check if both shanks match similarly. They will not always be exactly alike, but enough to work okay.
 |
| These are ridiculously long shanks... In case you wonder why anyone could call these realistic. |
MODIFYING
This tutorial showed the basic way to make a okay length curb bit. It can be made longer, shorter, curvy, etc. too. I use various techniques to make that happen, but I may measure lengths and mark them by using my pliers, a marker, or other things I find useful.
A short curb bit is often harder to make than a long one, due to the fact that the long wire has more surface to bend, and more to hold from.
Long curb bits also require some space between the upper shank loop and mouthpiece loop, and I do that by that same plier measuring technique as seen here (that part where I do the rein end loop).
If I want to make a pelham, I need to do some space for that too - but it can't be that much, so I use some larger pliers' nose to mark where to bend the mouthpiece loop.That way the gap doesn't end up too long, but it's just enough for a U -shaped piece to fit and move freely.
With various types of pliers, and shank lengths, it's possible to make this curb bit to look a bit western-y, curved, and so on. In this tutorial I showed just a basic shape and length that is okay for "average" type. It is also easiest to make, from all these curb bits I've invented.
USE
This bit can be used with or without a snaffle. To attach it I use contact glue, that I apply and let dry a couple of days before I get the bit to actual use.
How do I combine a snaffle to this bit? Not by glue. I make a average snaffle bit, and bend it's mouthpiece into a hook. And I put that hook into the curb's mouthpiece loop - yes, it fits there! This way the snaffle does work, too, so it's not fake. (Not saying this curb couldn't be fake either but...)
 |
| A double bit, where the snaffle is attached permanently to the curb by a oval link. |
 |
| I had no pictures of this contraption, where the snaffle attaches with a hook, without the curb strap... But if you look carefully, you can see where the hook is. |
 |
| More of the hook. |
Leverage bits require the use of a curb strap or chain. I put the curb strap only after both bits (if used in a double bridle), and it's... Difficult. I don't know how hard it is to put when done correctly (similarly to 1:1 scale curb straps/chains), but at least I can say it goes the right way and not weirdly behind the snaffle. Because that way it's no way realistic! Usually I use a lot of time to put the bits and curb strap because of that. Yet worse as I need to find a strap that is fitting in length... And I attach it with tweezers! At this point one of the bits usually drops, because the glue doesn't stick anymore or the snaffle hook is too loose or whatever else.
But with patience and stubbornness it's worth photographing.
Here are some pics of the bit in use. They may not be exactly the length as in the tutorial, but the technique stays same.
 |
| One of the first curbs from early 2018, it's very first time in use. |
 |
| Dreamy's bit, which is quite long. It has it's problems, like the lack of length in the upper "shank" compared to the lower part. |
 |
| A curb bit with a plastic bead in the upper shank. It adds length and also keeps the curb strap's hook from getting closer to the mouthpiece loop. |
 |
| A longer curb bit with a bead, looking unbalanced. |
 |
| Similar to above, but with more beads, now with honey color. |
 |
| Here used like it mostly is meant to: in a double bridle, in dressage. (I know a flash noseband should never be used with double bridles.) |
What next?